
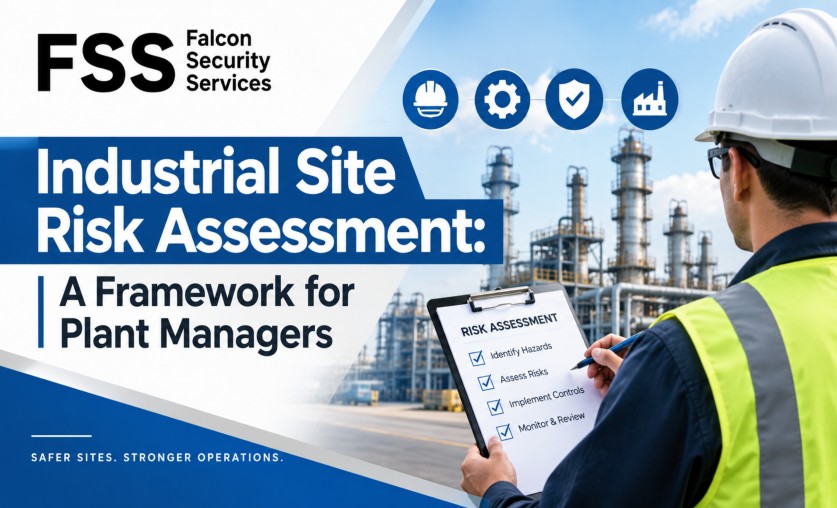
Most industrial sites buy security the wrong way round — a guard here, cameras there, each addition triggered by an incident rather than a plan. An industrial site risk assessment reverses that: it tells you what you’re actually protecting, how someone would realistically get to it, where your current coverage falls short, and therefore what you should buy. It’s also the document that makes your security spend defensible to finance and consistent across sites. This guide gives plant managers a practical, six-step framework you can run — or hold a provider to. For how we support industrial operations, see our industrial security services.
Step 1: Define the scope and map what matters
Start by deciding what the assessment covers — one plant, a whole campus, the fence line, the yard, or all of it — then inventory what actually needs protecting. Most sites find four categories:
- People. Employees, contractors, visitors, and lone workers on off-shifts. This category outranks the others.
- High-value and portable assets. Fleet vehicles, tools, heavy equipment, and metal stock — the copper and converter targets that draw thieves.
- Critical operations. The equipment, utilities, and control systems whose loss stops production, where downtime costs far more than the item itself.
- Hazardous materials. Chemical storage, fuel, and anything whose compromise creates a safety or environmental event, not just a loss.
Walk the site rather than working from a drawing. Site maps age badly, and the gap between the documented perimeter and the actual one is often where your risk lives.
Step 2: Identify credible threats
List what could realistically happen here — not every conceivable scenario. For most industrial sites the credible set includes external theft (especially metal and fuel), internal theft and diversion, unauthorized access and trespass, vandalism and sabotage, workplace violence, and safety events like fire, spills, or a lone-worker injury after hours.
Ground this in evidence: your own incident history, local police reporting, and what neighbouring operators are experiencing. A threat list built from data beats one built from imagination.
Step 3: Assess vulnerabilities honestly
This is where the assessment earns its value, and where it’s tempting to be generous with yourself. For each threat, ask how someone would actually accomplish it. Look hard at:
- Perimeter integrity — gaps, damaged fencing, gates left open, and stacked material offering a climbing point.
- Access control — who can get in, how identity is verified, whether contractor and visitor processes are followed at 2 a.m. as well as 2 p.m.
- Surveillance coverage — the blind spots, whether anyone watches in real time, and how quickly footage can be retrieved.
- Lighting and sightlines — the dark corners and obstructed views that make a yard workable for an intruder.
- Coverage timing — the hours with no presence at all, which is usually where incidents cluster and why overnight coverage matters most.
- Procedures and knowledge — whether officers and staff actually know the escalation path, the codes, and the hazards.
Want an objective assessment of your site’s gaps? Book a consultation and we’ll walk it with you.
Step 4: Rate likelihood and impact
Rate each threat–vulnerability pair on how likely it is and how bad it would be. A simple high/medium/low scale on both axes is enough — elaborate scoring models rarely change the decision.
Weight impact in full: direct loss, operational downtime, safety consequences, regulatory exposure, and the cost of replacing or repairing what was damaged getting to the target. Metal theft is a good example — cutting cable can take a line out of service, and the downtime routinely exceeds the value of the metal taken.
The output is a ranked list. That ranking, not a vendor’s product catalogue, is what should drive spending.
Step 5: Match controls to the ranked risks
Now choose controls, working from the top of the list down, and layer them:
- Deter — fencing, lighting, signage, and visible presence such as uniformed officers.
- Detect — monitored cameras, alarms, and aerial drones for large perimeters.
- Delay — access control, secured compounds, and target hardening on the assets that draw attention.
- Respond — mobile patrol, K-9 patrol where open ground needs detection and deterrence, and a defined escalation path behind every alarm.
The discipline is one-to-one: every control should trace back to a specific ranked risk. If it doesn’t, you’re buying hardware rather than reducing risk. Our guides to coverage models and layered perimeter security go deeper on the choices.
Step 6: Document, act, and review
Write it down — scope, threats, vulnerabilities, ratings, chosen controls, and what risk remains after them. Residual risk is a legitimate outcome; accepting it knowingly is very different from never having looked.
Then set a review cadence. Sites change: new equipment, new chemicals, altered layouts, shifting local crime patterns. An annual review, plus a review after any significant incident or change, keeps the assessment live. It also aligns naturally with your OHSA obligations, where hazard assessment and reasonable precautions are ongoing duties rather than one-time tasks.
Frequently Asked Questions
Q1. What is an industrial site risk assessment?
Ans. It’s a structured review of what your site needs to protect, what threats are credible, where you’re vulnerable, and which controls reduce the highest-ranked risks. It turns security from reactive purchases into a plan.
Q2. How often should we do one?
Ans. At least annually, plus after any significant incident, layout change, new process or chemical, or shift in local crime patterns. An outdated assessment stops reflecting the site you actually have.
Q3. Who should conduct it?
Ans. It can be internal, external, or both. Internal staff know the operation; an experienced external assessor brings pattern recognition and objectivity about gaps that familiarity hides.
Q4. What’s the difference between a threat and a vulnerability?
Ans. A threat is what could happen — metal theft, trespass, violence. A vulnerability is the weakness that would let it succeed, like an unlit yard or an unwatched fence line.
Q5. How detailed does the scoring need to be?
Ans. A simple high/medium/low rating on likelihood and impact is usually enough. Elaborate scoring models rarely change which risks come out on top.
Q6. Should safety hazards be included, or just security threats?
Ans. Include both. On an industrial site they overlap — hazardous materials, lone workers, and emergency response all sit where security and safety meet.
Q7. What is residual risk?
Ans. It’s the risk that remains after your controls are in place. No site eliminates risk entirely; the goal is to know what’s left and accept it deliberately rather than by accident.
Q8. How does the assessment help justify security spending?
Ans. It ties every control to a ranked risk, which turns a budget request into a documented business case rather than a reaction to the last incident.
Q9. Can one assessment cover multiple sites?
Ans. Use a common framework so results are comparable, but assess each site individually. Footprints, neighbours, and operations differ enough that a single generic assessment misses real gaps.
Q10. What’s the most common mistake in site risk assessments?
Ans. Being generous about your own vulnerabilities. An honest walk-through that finds uncomfortable gaps is far more useful than a tidy document that confirms what you hoped.
A risk assessment is the cheapest security work you’ll ever do, and it makes everything after it smarter. Map what matters, name credible threats, be honest about gaps, rank by likelihood and impact, match controls one-to-one, and review it as the site changes.
Ready to assess your site properly? Request a consultation with our industrial team.